Image Generation with Firmao

Firmao is a Polish CRM / WMS process automation software available in the cloud. Dedicated to small and medium-sized companies, and thanks to its modular design, it provides a unique ability to quickly and easily adapt to the specific needs of any company. Firmao can be easily integrated with more than 1,000 external IT systems. Firmao is a European alternative to American systems such as Salesforce, HubSpot, India's Zoho, and Russia's Bitrix24.
In this article, we will show how to connect Firmao with RenderForm, and what you can use this integration for. It is extremely simple because it is done through Zapier.
Zapier is a platform that allows you to integrate different applications and tools, which allows you to automate your work. The integration between Zapier, Firmao and RenderForm allows for the automatic transfer of data between these platforms. For example, when you add a new company in Firmao, you can configure the integration so that graphics personalized for a specific company are automatically created and sent to the CRM so that they can be sent to the customer. This allows you to automate many activities and design communications personalized for customers.
Zapier - Triggers and Actions
The integration between Zapier, Firmao and RenderForm offers various Triggers and Actions to automate the flow of data between these platforms.
Triggers: are the events that trigger automatic actions in the integration. For example, when you create a new graphic in RenderForm, it could be a trigger that starts the process of creating a task in Firmao, for the marketing department, for example.
Actions: are the specific actions that are taken as a result of triggers. For example, when you create a new invoice in Firmao, an action could be the automatic creation of a personalized graphic in RenderForm.
What needs to be done to connect applications in Zapier?
Firmao: Log into your account, click in to the button on the right corner (with letter A - admin), click “company settings”. On the left you’ll have different categories - click on Integrations. On the top click on “API”, then click “Enable API”. Here you’ll have API login and Password - that’s the credentials needed for you to sign in Zapier. You can set the rest simply via Zapier.
RenderForm: Search for RenderForm in action block in Zapier and select the action type. Log in to your account and add your API Key (you can find it in your account section in RenderForm).
How to create working Zap:
Before we start with Firmao configuration, prepare your image template in RenderForm that you’ll use later.
- Choose a trigger Firmao - it can be the creation of a new Company, Task, Proposal or Invoice.
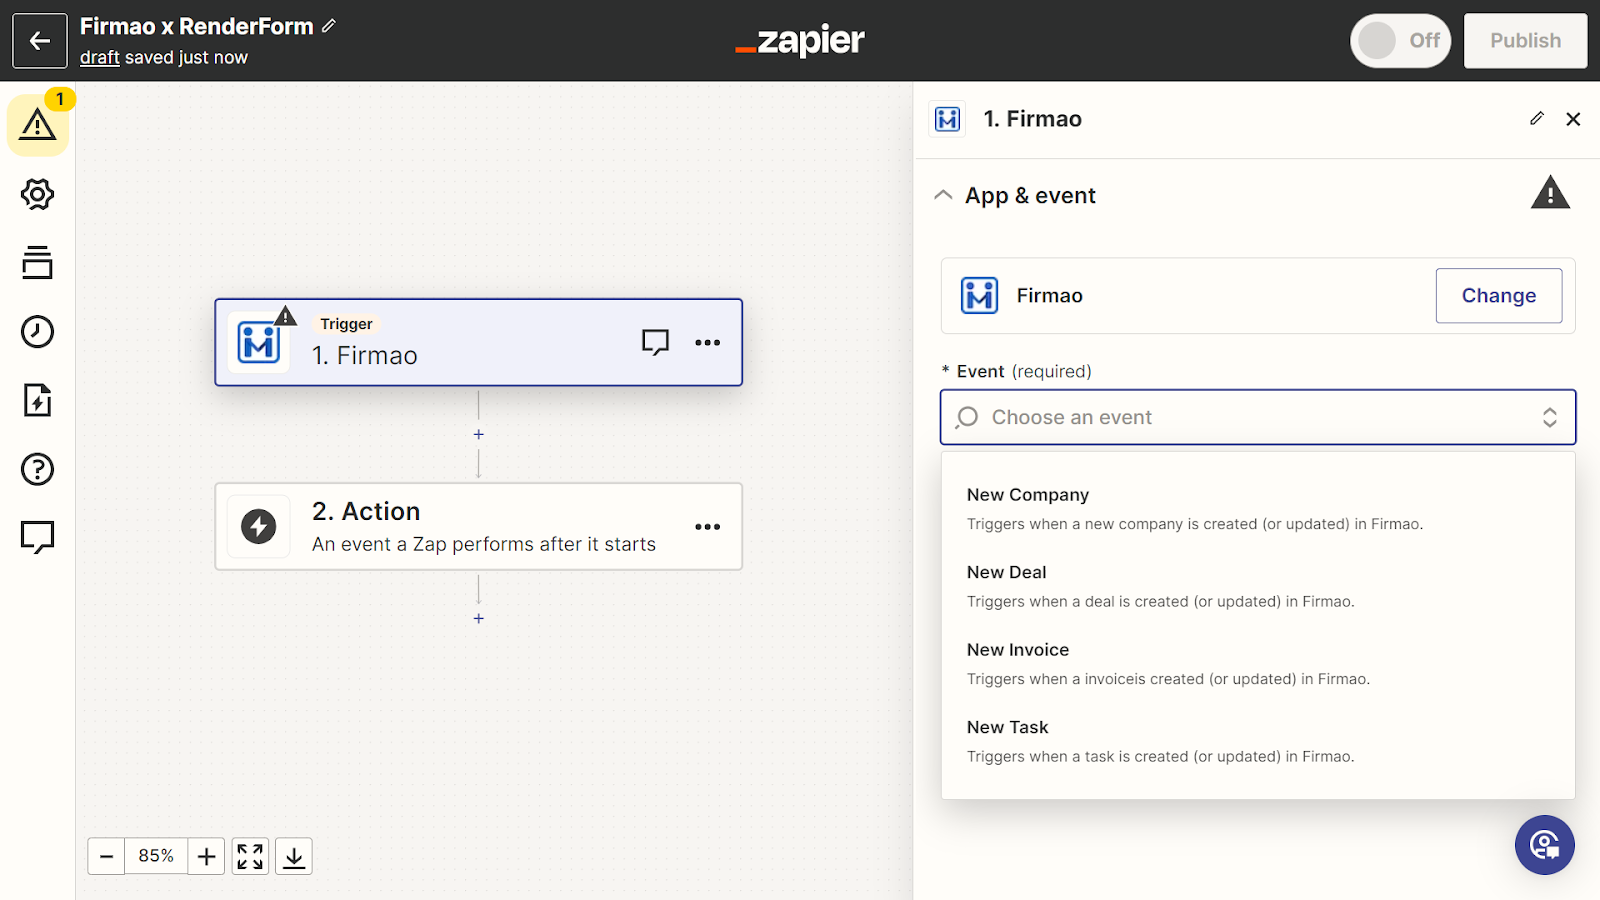
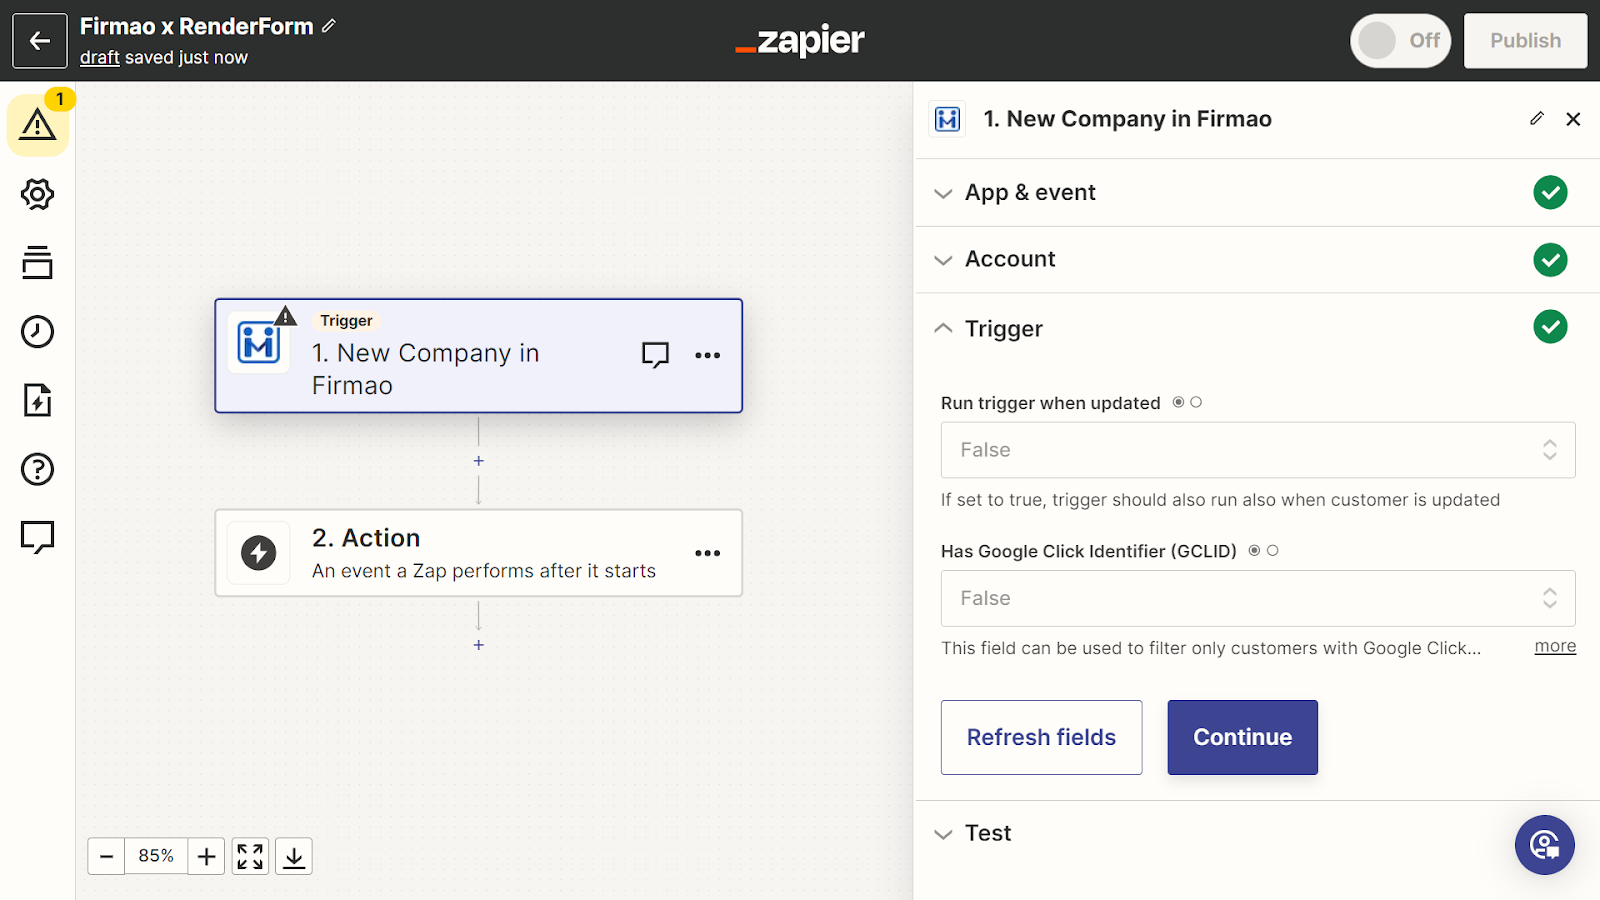
- Configure the first elements.
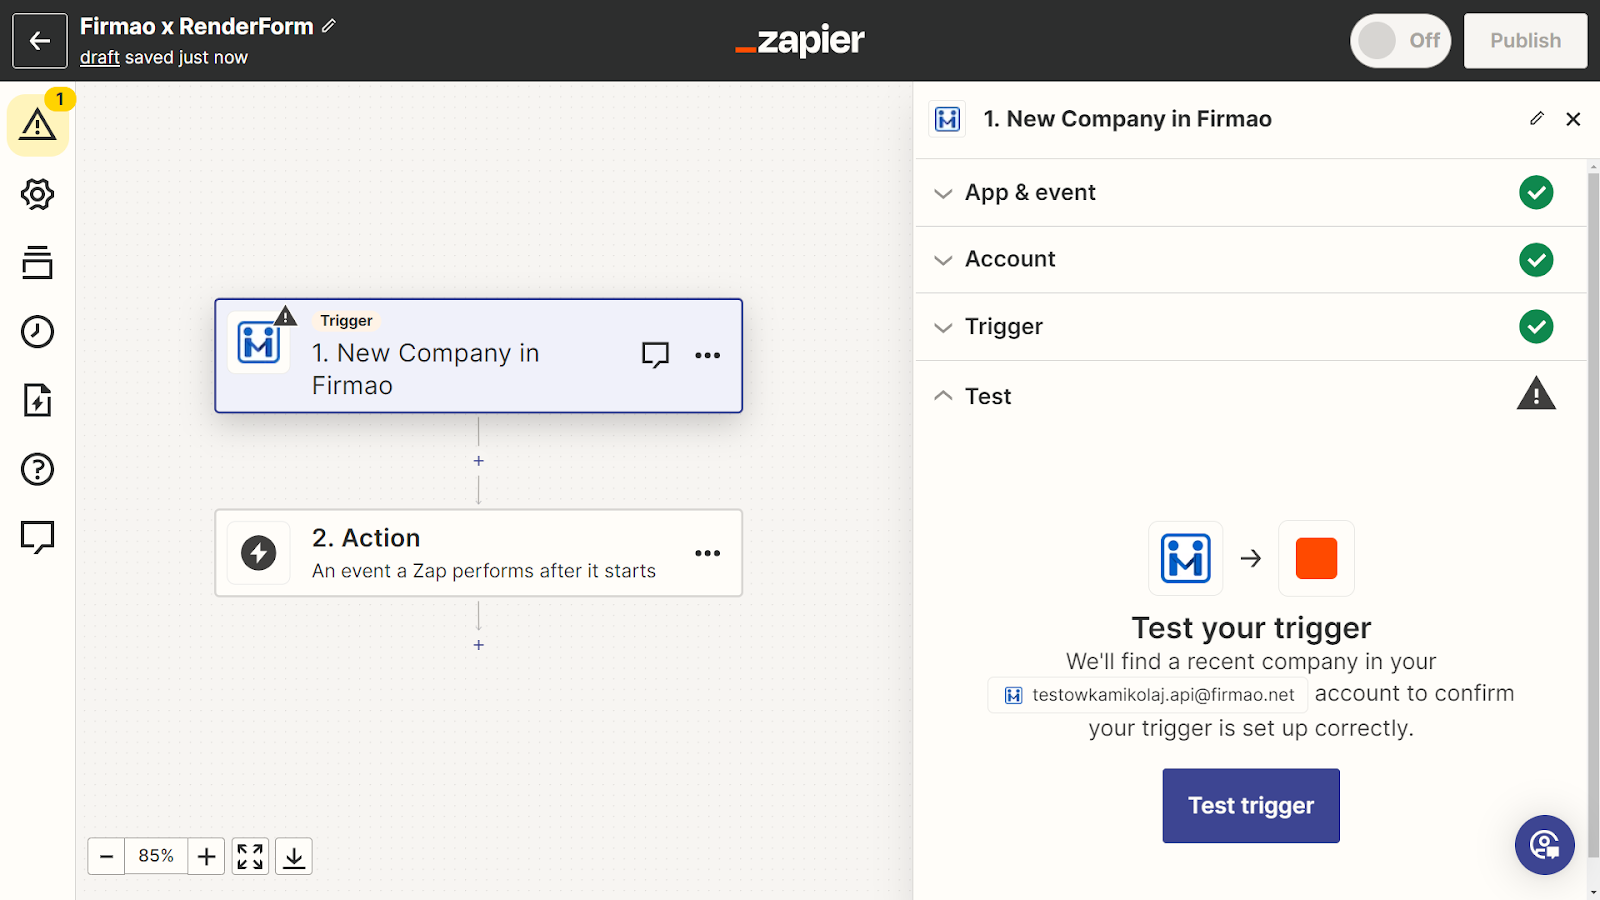
- Test the performance of Zap.
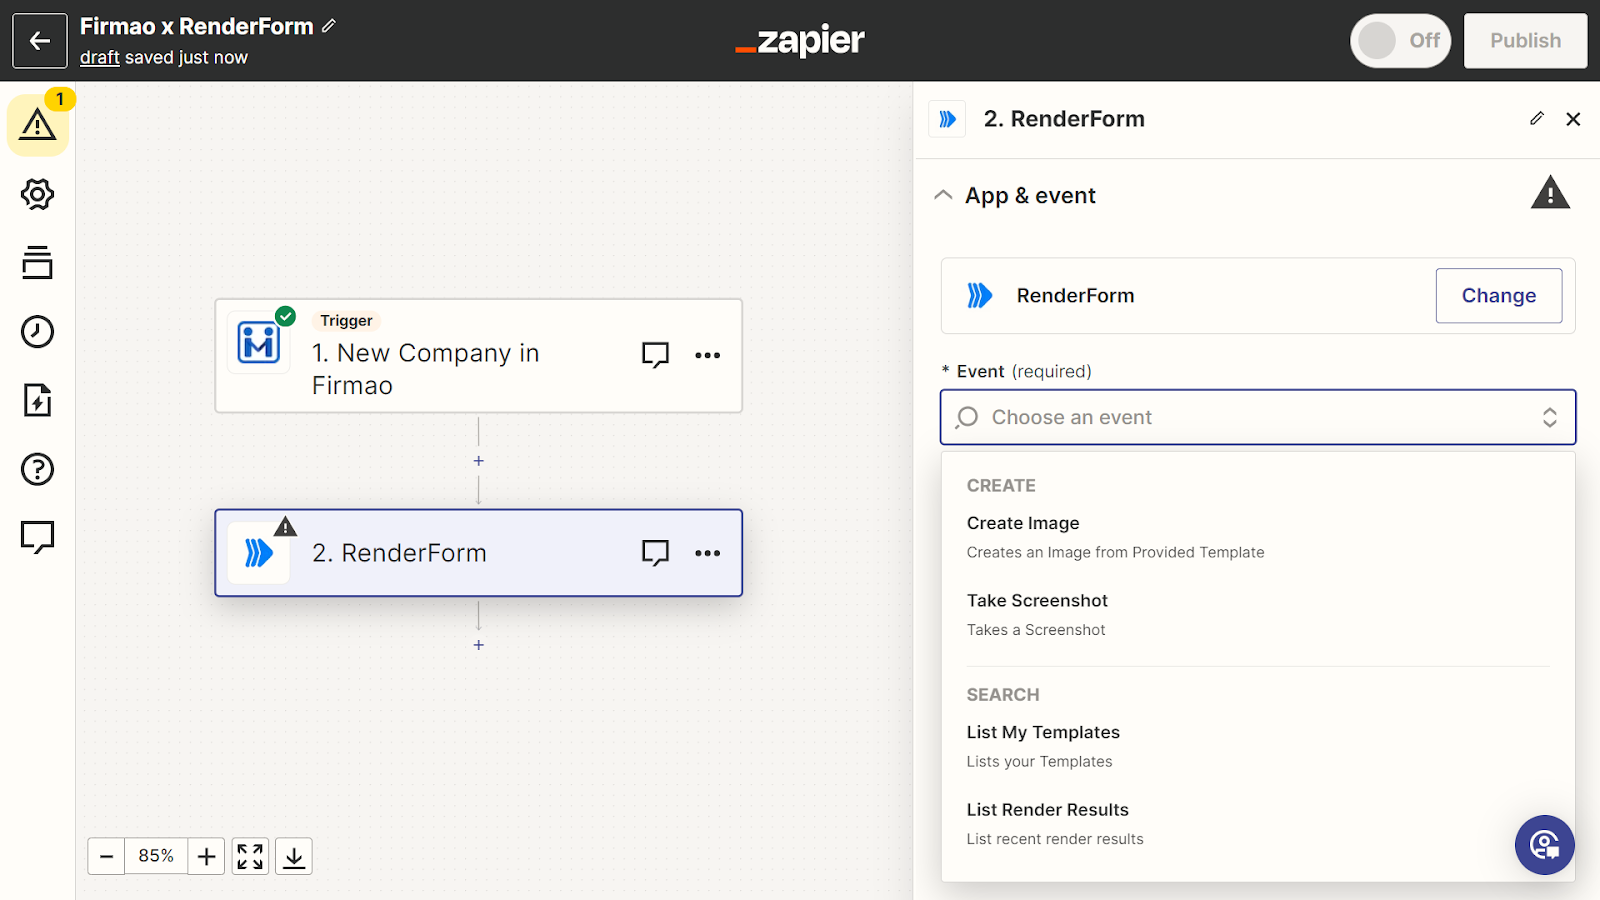
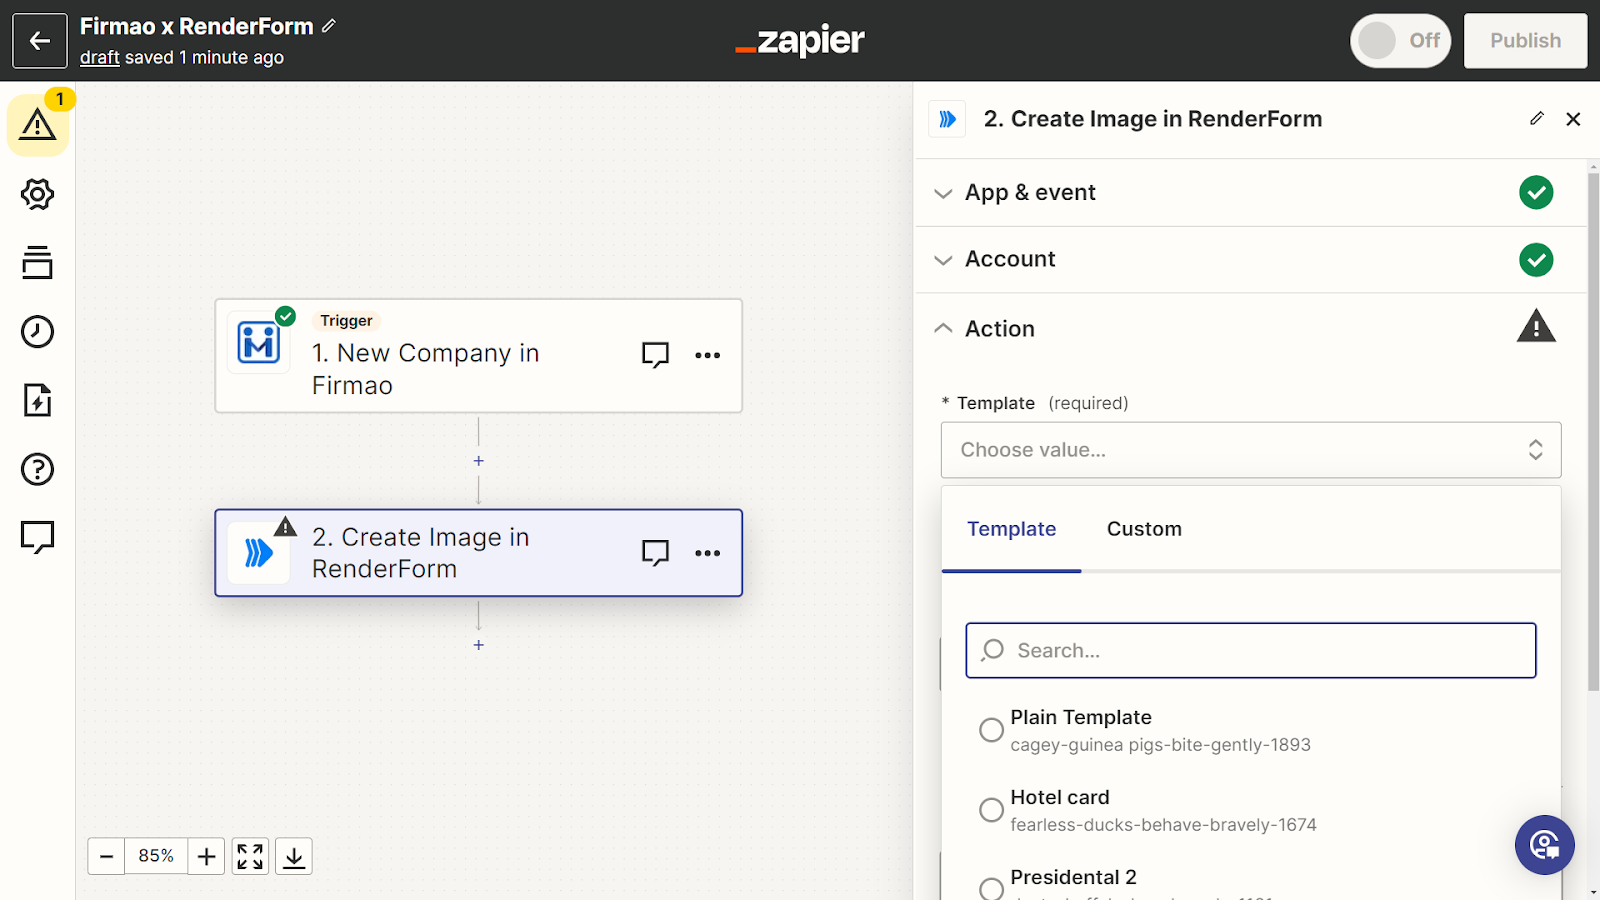
- Configure the second stage of Zap - select RenderForm and decide what you want to automate, for example, the creation of graphics.
- Select template.
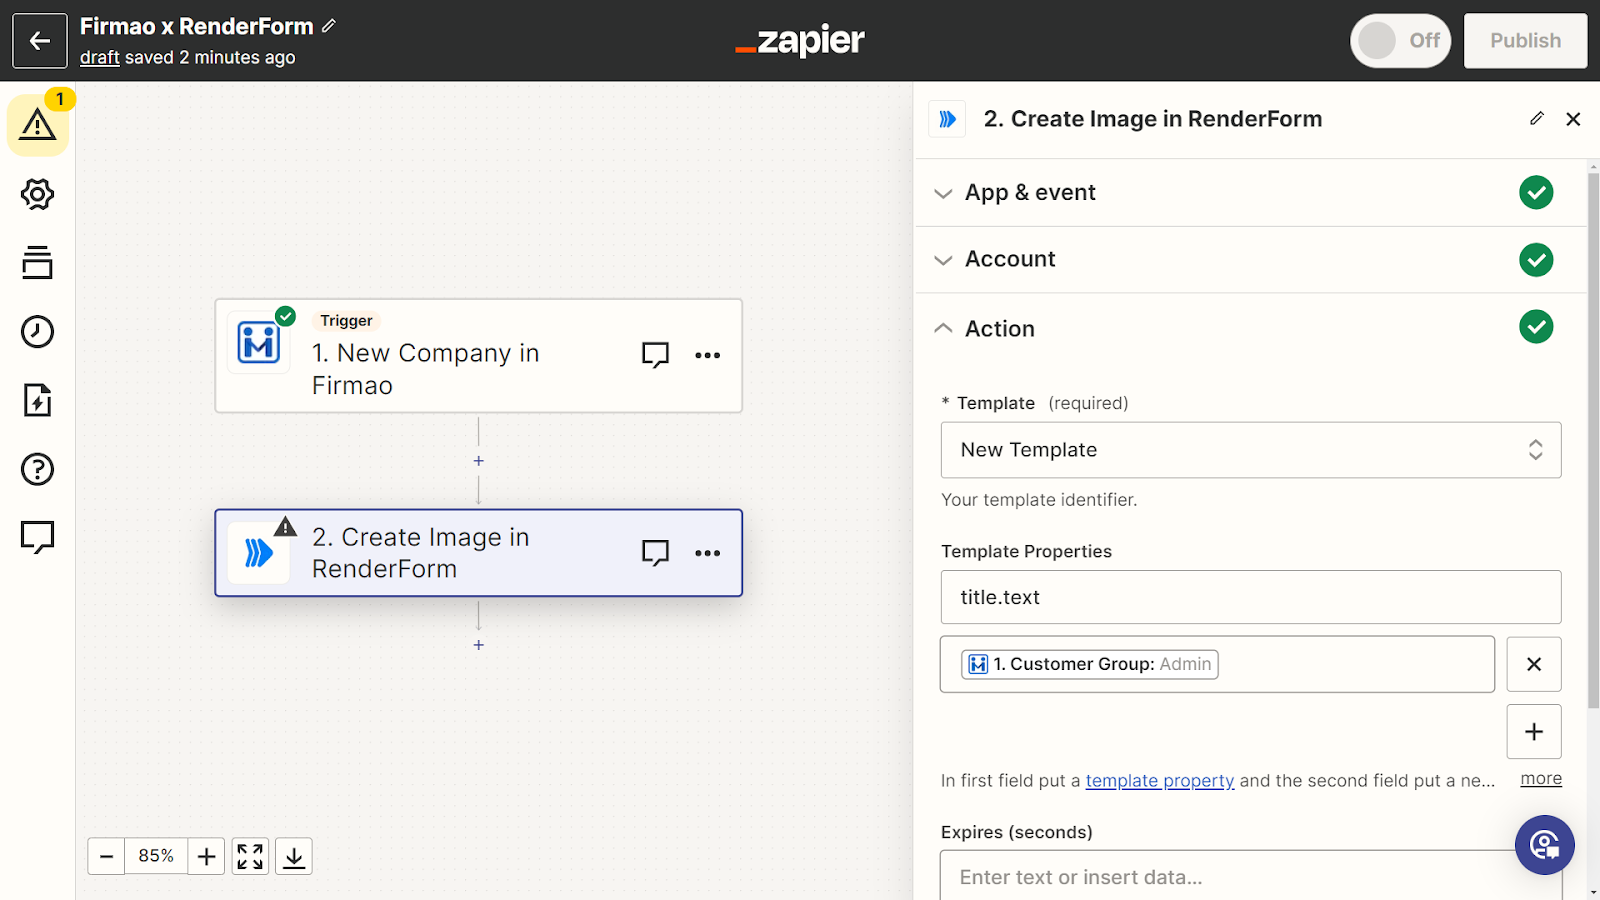
- Modify the template to automatically change the graphics, for example, the company name can be the Headline.
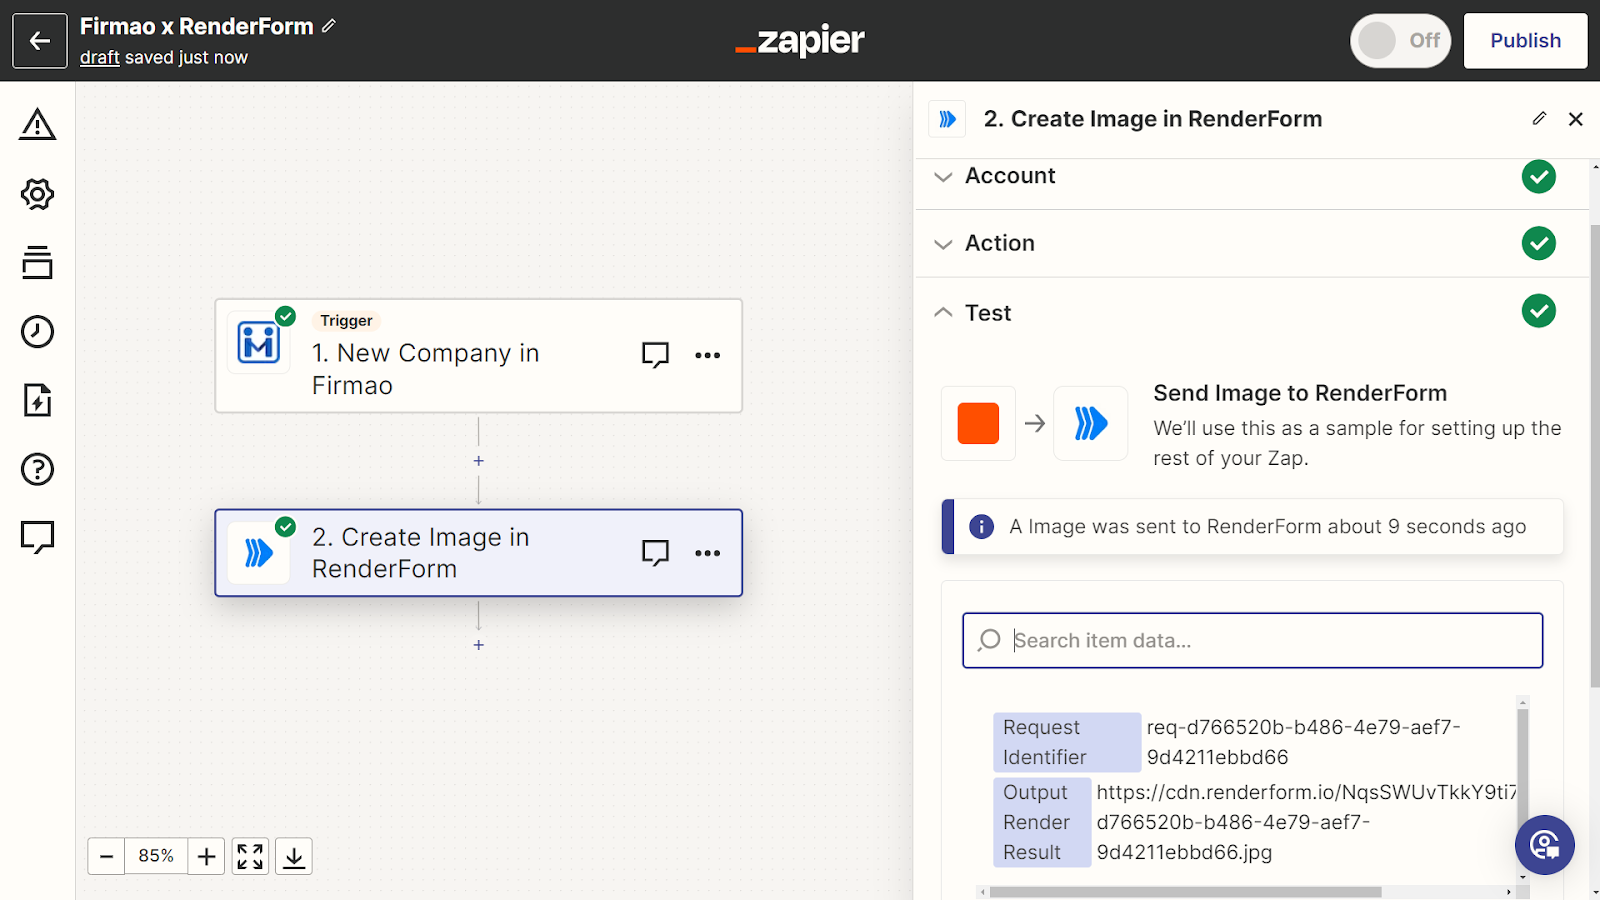
- Test the functionality of Zap.
- Set the destination of the graphic, choose where you want the graphic to appear in the Firmao system.
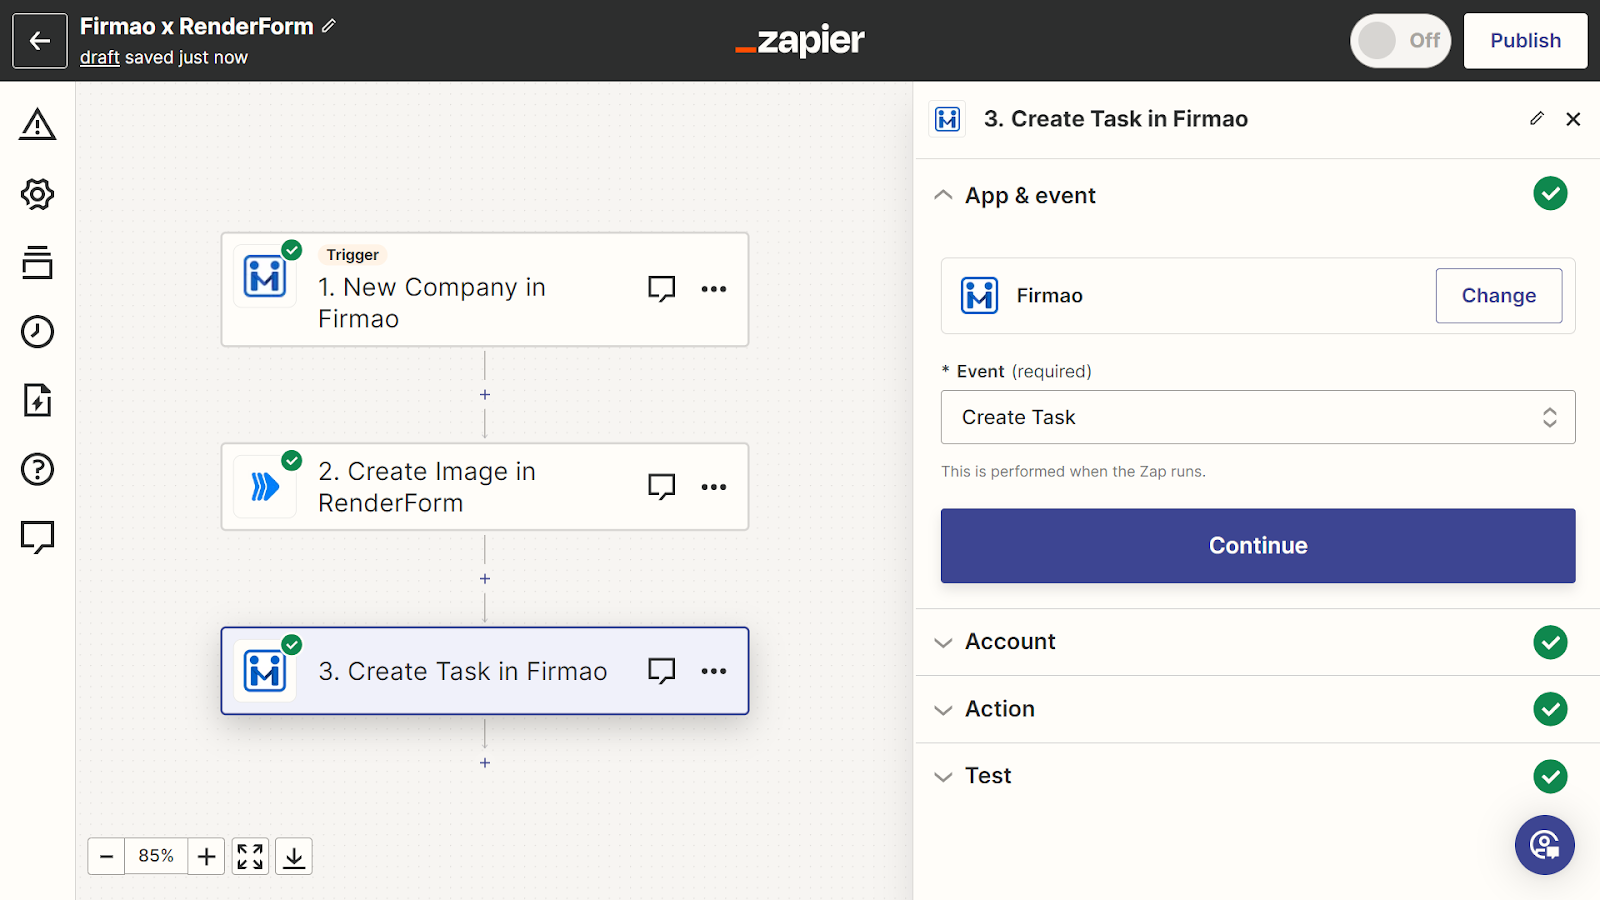
- Configure the task.
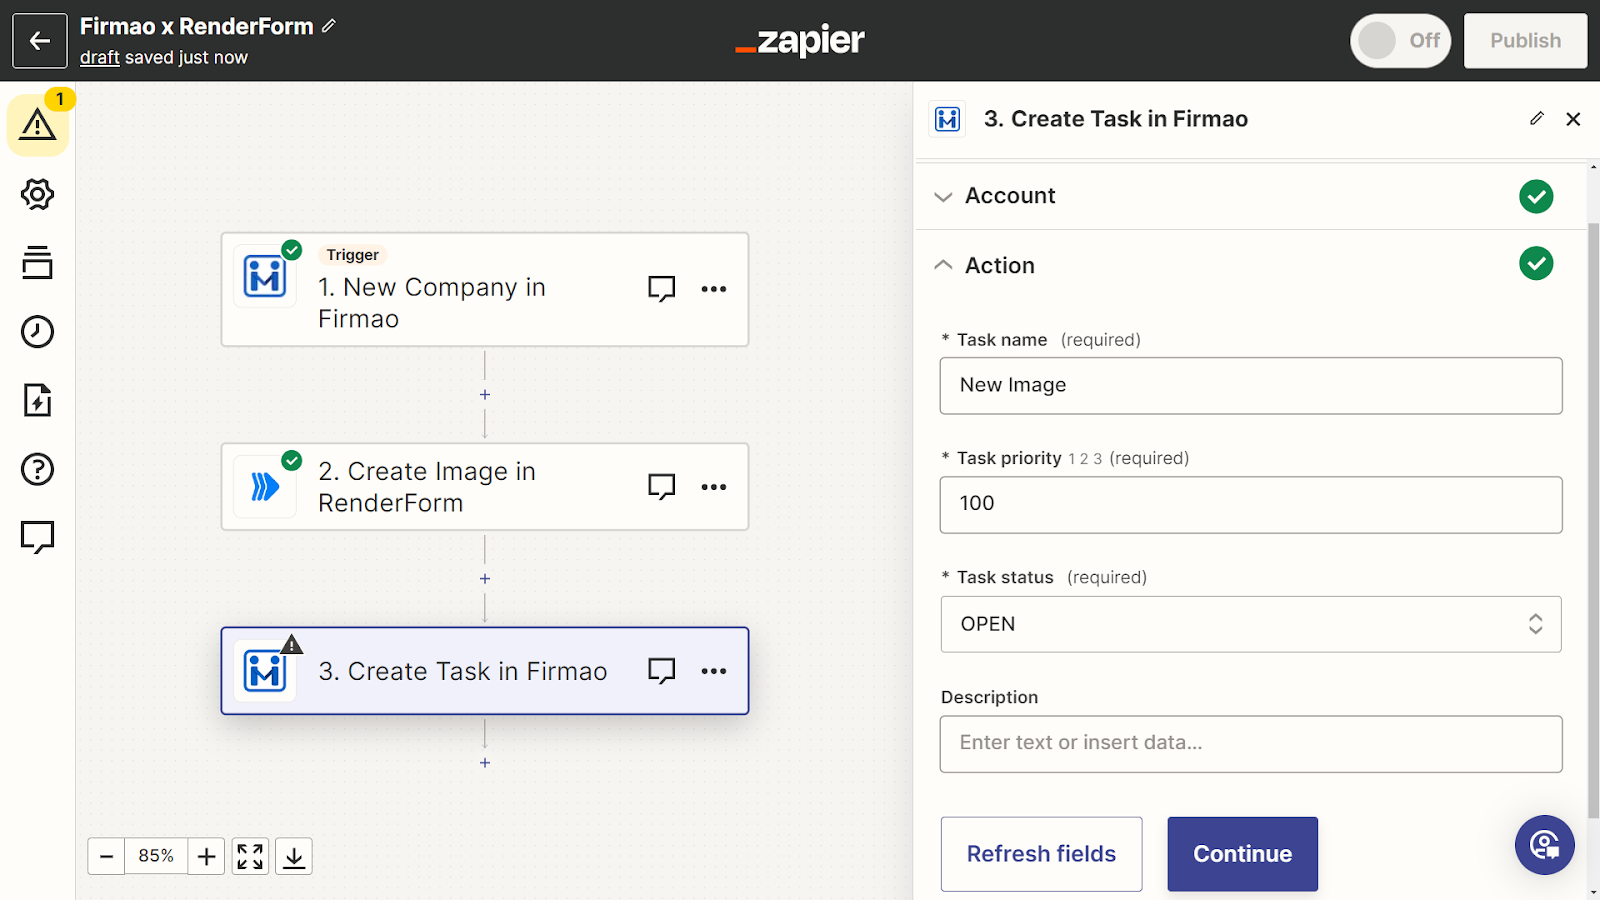
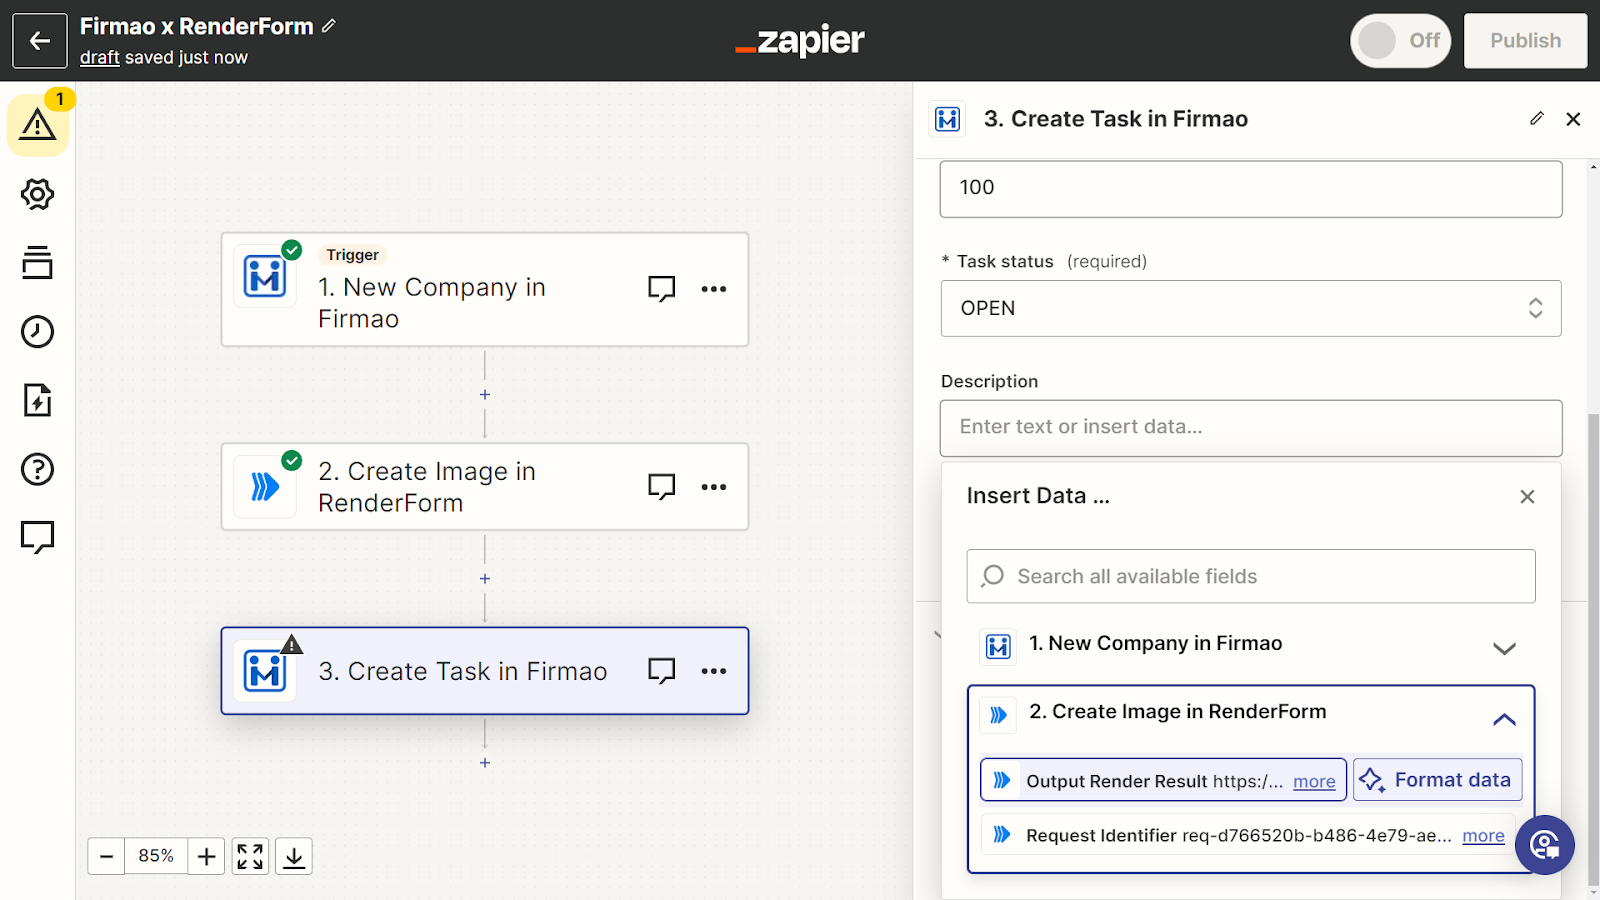
- In the task description, add "Output Render Results" so that you can easily find the finished graphic in the task.
And the automation is ready! As a result, you will see an image generated from a recently submitted form. Try submitting another form with different data and check how RenderForm generates a new image for you automatically. Preparing the whole Zap took less than 5 minutes.


